How to Cancel a Session in Fluid via Outlook
In this article, we will cover the steps on how to cancel a session in Fluid, of a meeting that was created via Outlook. (Using both the Desktop and Web Application versions)
Web Based Version
Step 1. Access the meeting invite to cancel the session
In the Web-based Outlook calendar, click on the specific meeting invite that requires the update. Click Cancel and select This event.

NOTE: To cancel a session in Fluid via the Outlook Calendar, you have to be the Organizer of the meeting series in Outlook.
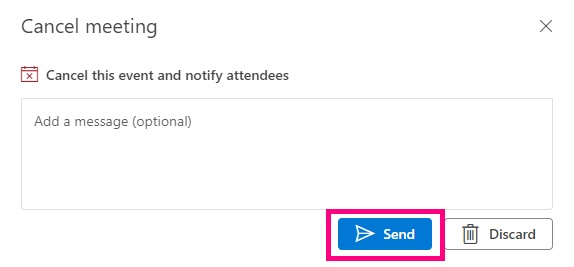
A window will appear where you can briefly explain the reason for the session being cancelled. Click Send to update the meeting details in Fluid, and to notify attendees.
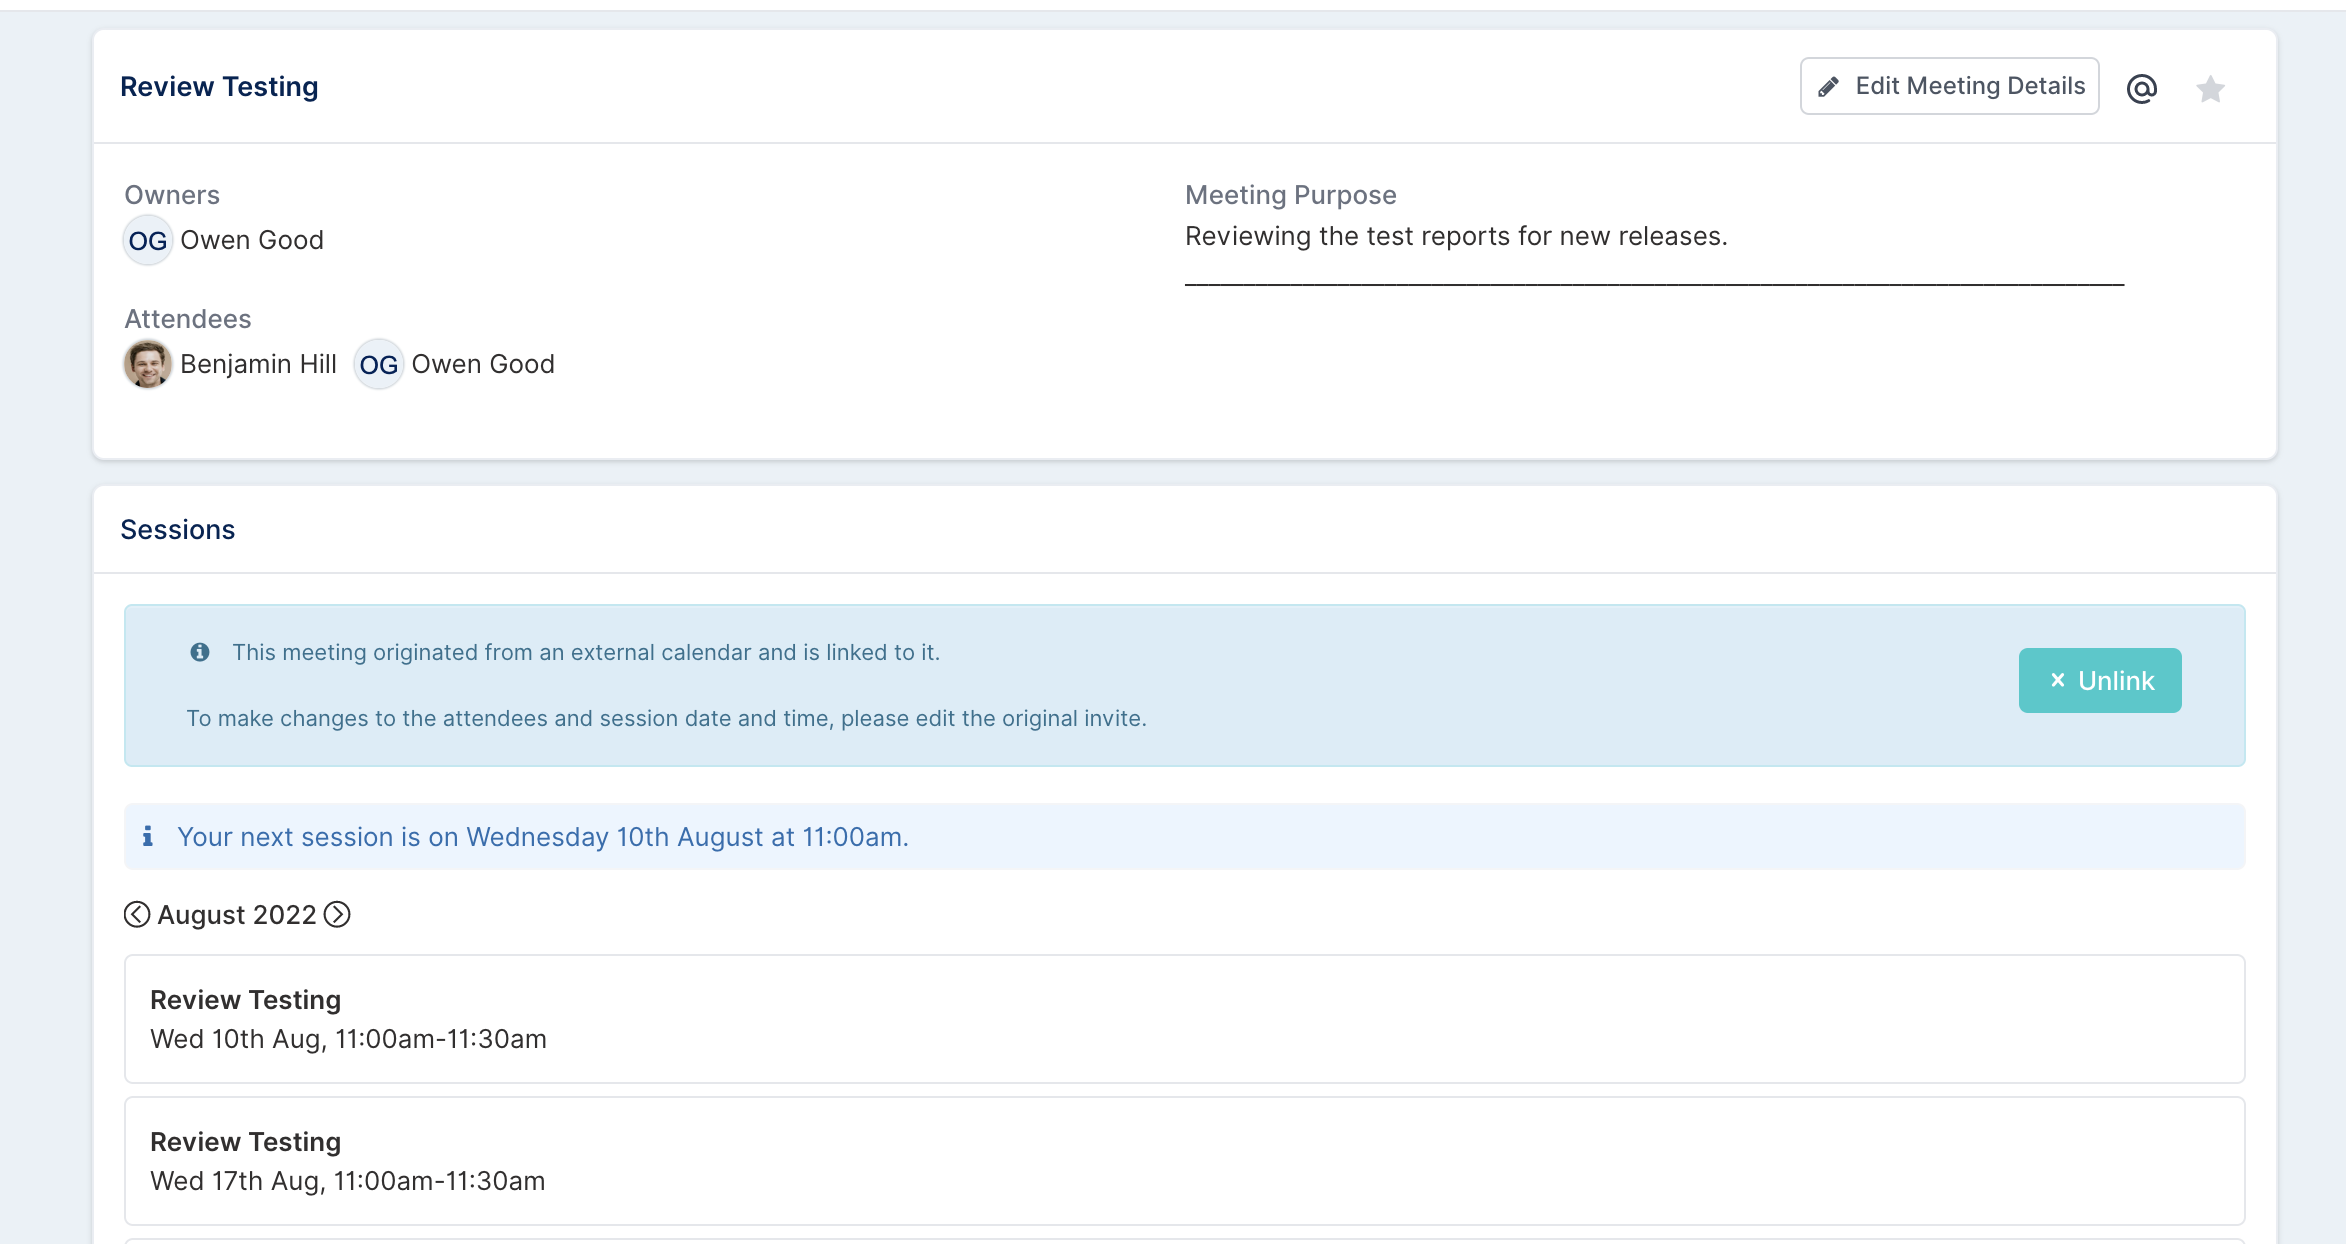
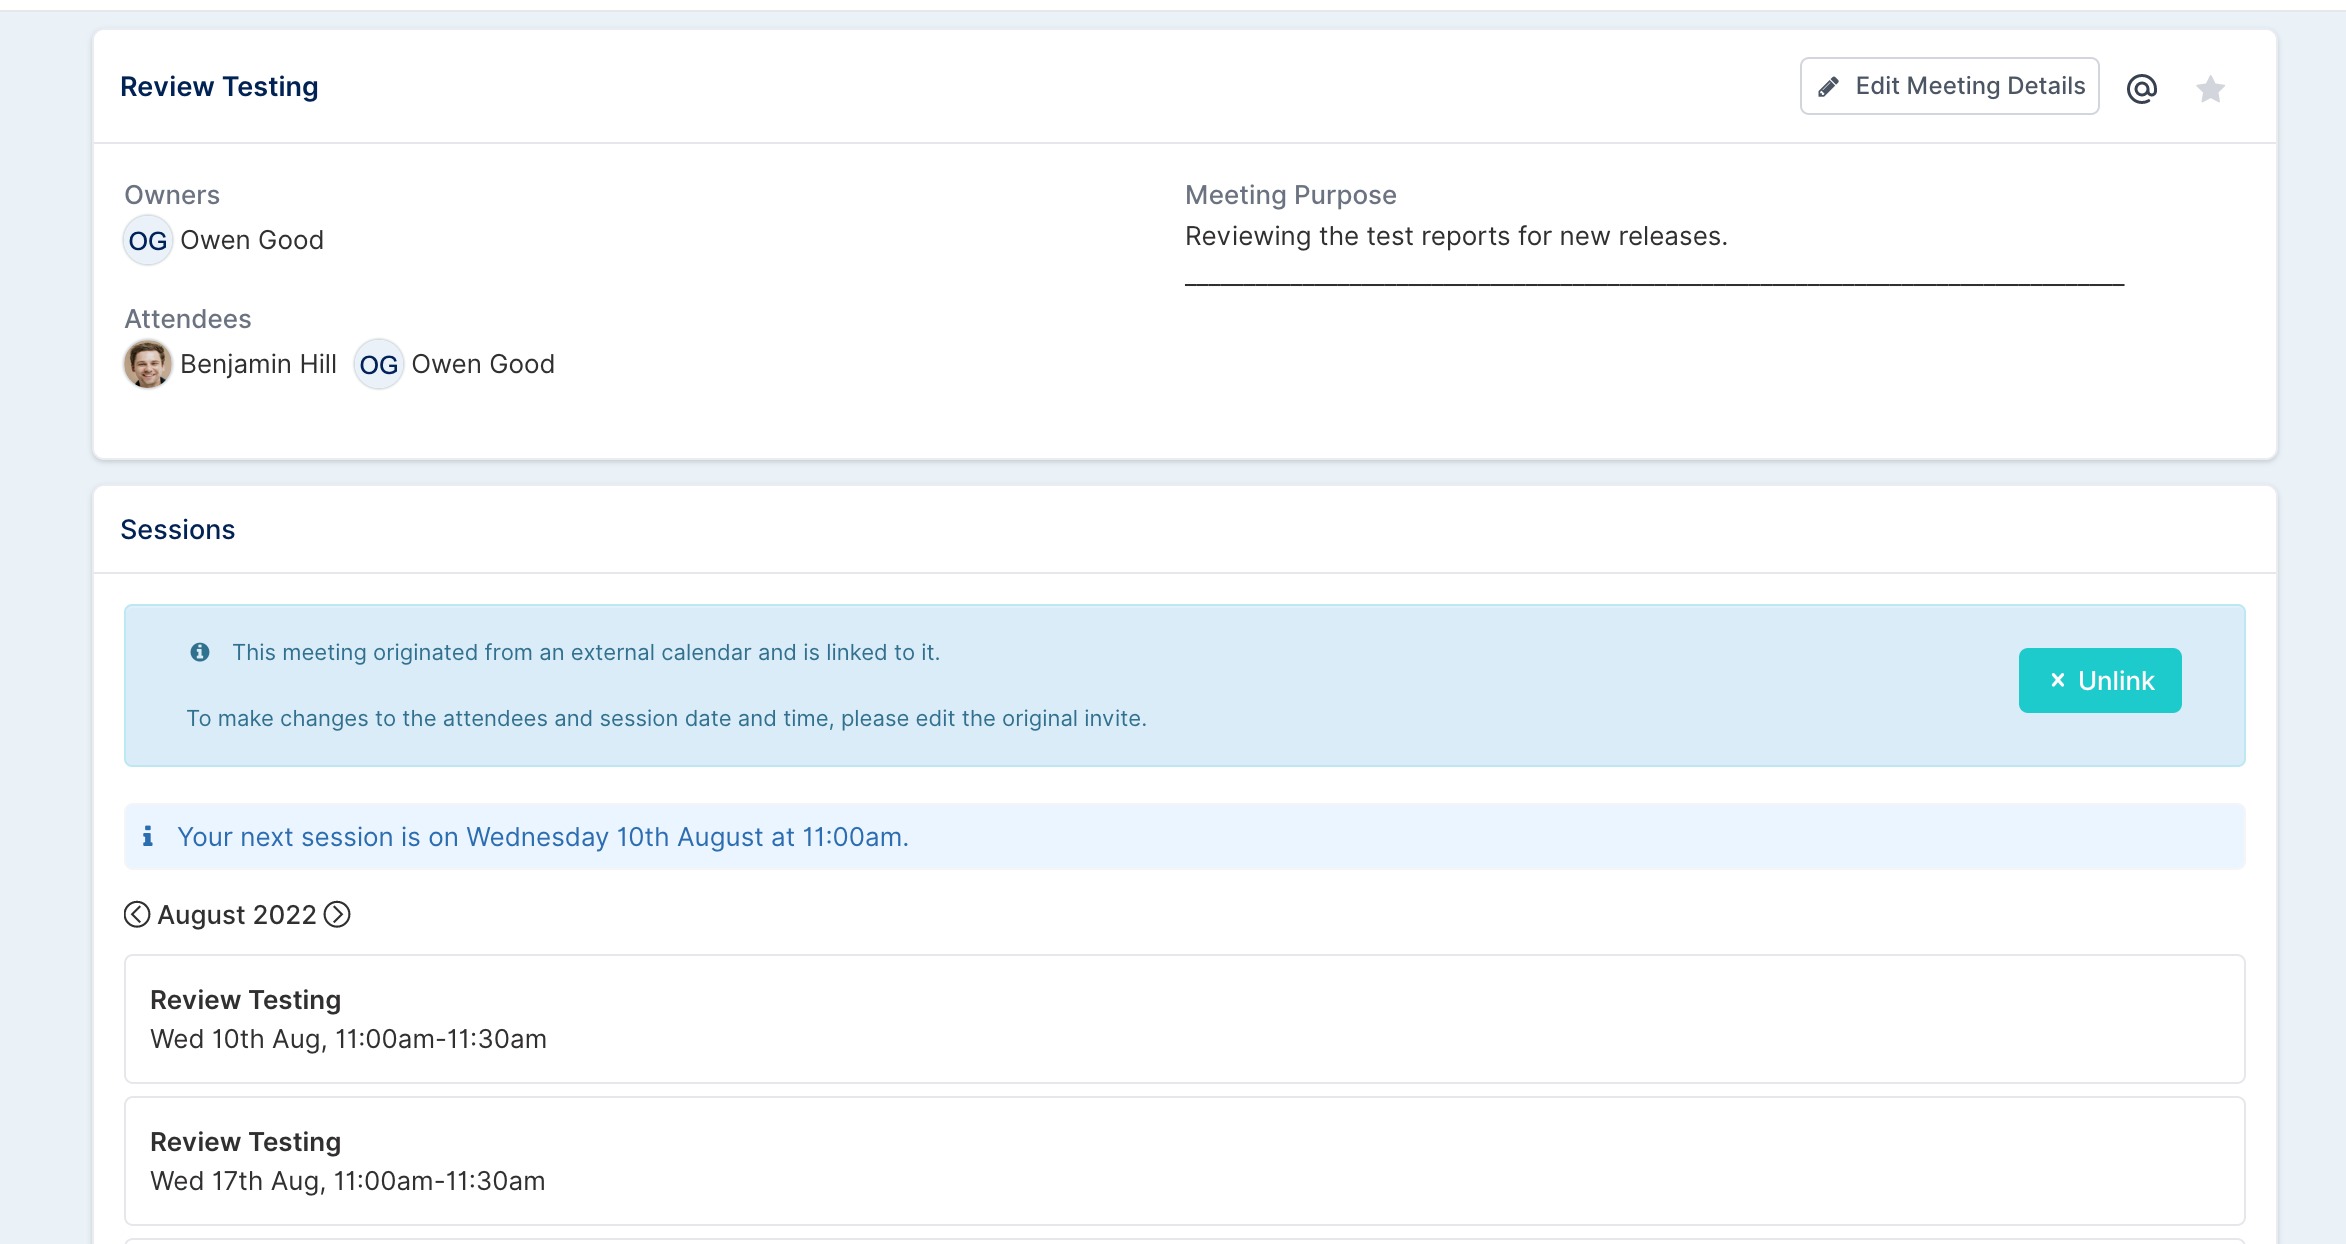
Once the invite is sent, the session section on the meeting dashboard in Fluid will be updated with the cancellation.
Step 2. Review meeting updates in Fluid
Navigate to the meeting dashboard. You will see the updated cancellation with only upcoming sessions displayed.
Desktop Version
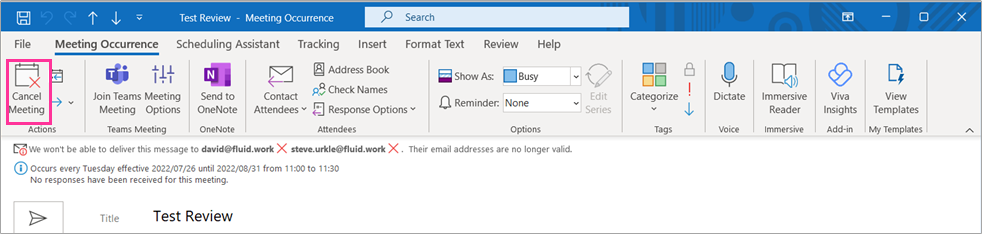
Step 1. Access the meeting invite calendar in Outlook
On the desktop app, access your calendar and click to open the meeting invite. Click on the Cancel Meeting option.
Step 2. Confirm session cancellation
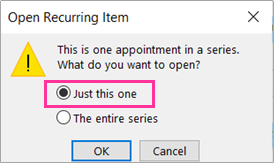
A dialogue will open. Select Just this one. Click OK.
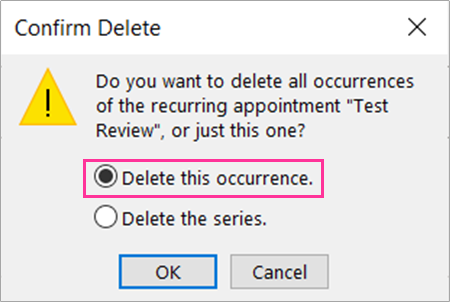
Based on the option selected, you will be prompted to confirm which occurrence to remove. Select Delete this occurrence. Click OK.
Step 3. Send the update and review changes in Fluid
In Outlook, send the meeting invite to update the meeting details in Fluid. Once the invite is sent, the session section on the meeting dashboard will be updated with the cancellation and display only upcoming sessions.