
Understanding and Using Promotion Levels for Schedule Tasks and Impacts
Promotion in Fluid is used to elevate the visibility of schedule tasks and impacts (risks and issues) beyond the project where they are created. It ensures the right information is surfaced at the right level, whether for delivery teams, parent project owners, program leads, or executive stakeholders.
This article explains:
What promotion levels are
When to use each level
How visibility behaves across different workspace types
How to use the Promotion Level filter to tailor your view
What are Promotion Levels?
Promotion levels define how far up the project hierarchy a schedule task or impact is visible. This supports reporting, governance, and exception-based escalation by ensuring that only the most relevant items are surfaced at higher levels.
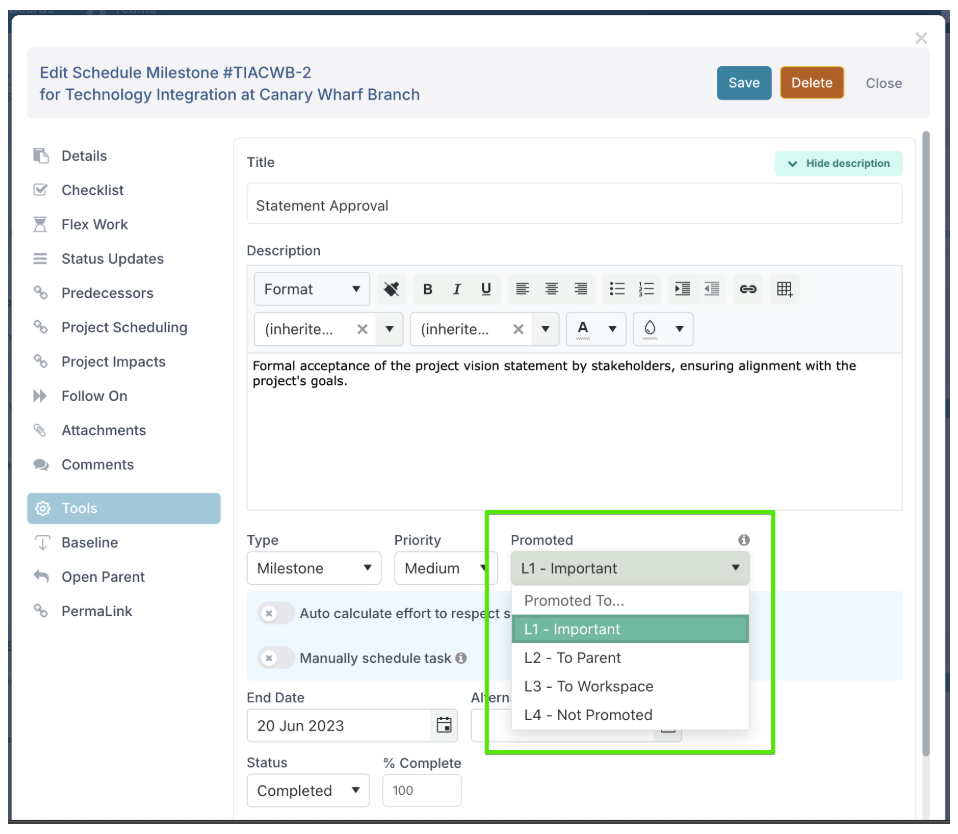
Fluid uses a tiered promotion structure (L1 to L4):
Level | Label | Previous Label | Use Case | Visible By Default On |
L1 | Important | To Program | For high-priority tasks or issues that should be visible to program owners, execs, and on project dashboards | Program Dashboards, Program workspace, Parent Project workspace, Project workspace |
L2 | To Parent | To Parent Project | For items relevant to coordination across projects within a parent-child structure | Parent Project workspace, Project workspace |
L3 | To Workspace | To Dashboard | For items that should be tracked at the project level but not escalated | Project workspace only |
L4 | Not Promoted | Not Promoted | For internal tasks or impacts not requiring wider visibility | Only in the Gantt or impact register of the project |
Promotion is cumulative: If you promote an item to L1, it automatically appears at all lower levels (L2 and L3). You don’t need to promote it separately to each level.
When should I use each promotion level?
Promotion should align with the audience and purpose of the item.
Scenario | Recommended Level |
|---|---|
A major milestone, strategic risk, or critical issues with program-wide implications | L1 – Important |
A task or issue that impacts multiple subprojects | L2 – To Parent |
A project-specific activity to be monitored by the delivery team | L3 – To Workspace |
A task for internal tracking only | L4 – Not Promoted |
Default visibility by workspace
Each workspace type displays impacts and schedule tasks by default based on its governance role. These defaults are designed to highlight the most relevant information, but you can always adjust the view using the Promotion Level filter.
Program Workspace
Default view includes:
All impacts declared by the program (regardless of promotion)
Impacts promoted to L1 (Important) from subprojects
Schedule tasks promoted to L1 from the program or its subprojects
Parent Project Workspace
Default view includes:
All impacts declared by the parent project (regardless of promotion)
Impacts promoted to L1 (Important) or L2 (To Parent) from subprojects
Schedule tasks promoted to L1 or L2 from the parent project or its subprojects
Project Workspace
Default view includes:
All impacts declared by the project (regardless of promotion)
Schedule tasks promoted to L3 (To Workspace) or higher
Project Dashboards
By default, project dashboards display:
Impacts and schedule tasks promoted to L1
This ensures that executive stakeholders reviewing dashboards see only the most strategically relevant information.
Whether you are on a project workspace or a project dashboard, you can use the promotion level filters in both the Schedule and Impacts sections to change which levels are visible, allowing you to focus on exactly what you need for your audience or review.
Please note that the Edit Gantt view always shows all tasks by default, regardless of promotion.
Using the promotion level filters
You can customise what is shown in the Schedule and Impacts sections by using the promotion level filters. This is especially helpful for tailoring views for different roles or reporting needs.
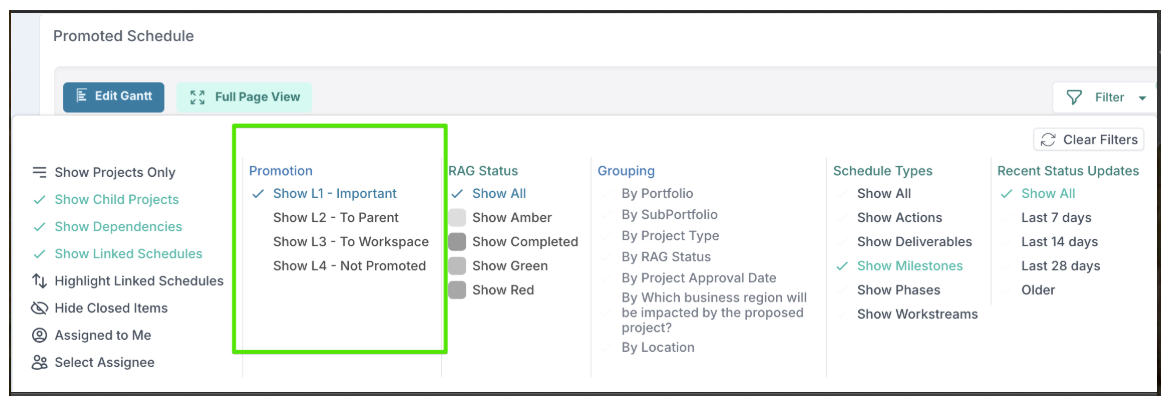
How It Works
One level selected: Displays items promoted to that level and any higher levels
(e.g. L2 filter shows L1 and L2 items)Multiple levels selected: Displays items promoted to those exact levels only
(e.g. L2 and L3 filter shows only L2 and L3 items)
This gives you flexibility to:
Drill down into project-specific detail
Focus reviews on mid-level escalations
Isolate only the top-priority items for executive views
Summary
Promotion levels are essential for controlled visibility and meaningful reporting. The L1 - L4 structure helps you:
Escalate only what matters
Align visibility with governance needs
Streamline dashboards and workspace views
Customise views easily with filtering
By understanding when and how to promote and by using filters effectively, you can ensure the right stakeholders see the right information at the right level.