
Create a Project Status Change Approval Workflow
As a portfolio manager, you may want to have oversight of project status changes, considering the broader impact before approving the change.
In Fluid, you are able to set up a project status change approval workflow for statuses that you specify.
This means that PMs and project editors will be unable to update the overall project status without your knowledge and must instead create a project status report where they update the RAG status, sending a request to portfolio approvers before the change can be approved and the project status changed.
Create the Approval Workflow
To create the project status change approval workflow, you will need to:
Update Project Settings
Link your Status Report RAGs to Project Statuses
Add portfolio approvers.
The steps are all listed in the sections below.
Update Project Settings
You will need to have the following two Project Features turned on:
Lock Project Admin Fields
Status Report Driven Project Status Change Workflow
Restrict Access to Project Status Changes
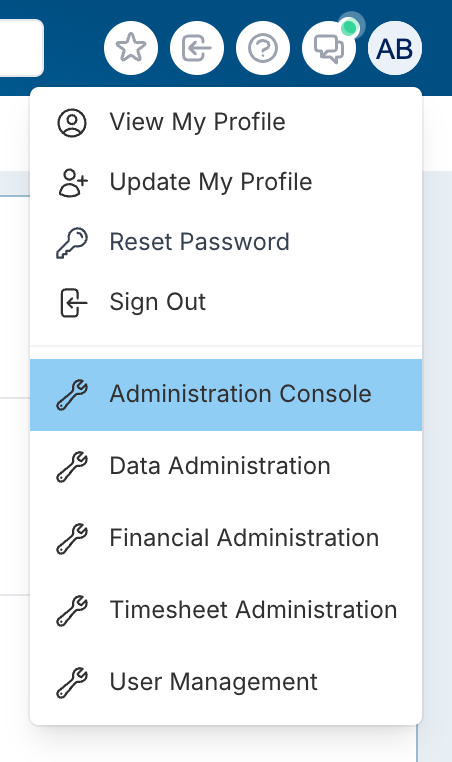
Navigate to the 'Administration Console' by clicking on your profile icon in the top right of the window and selecting it from the menu.

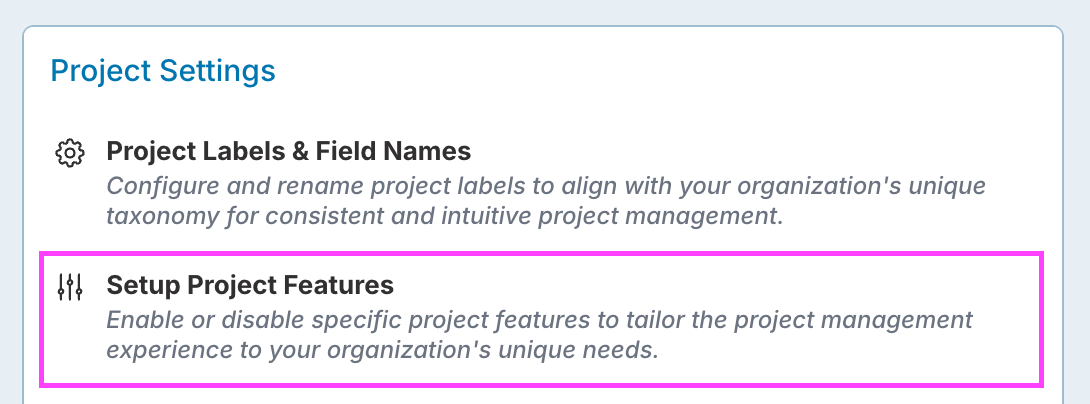
From the 'Project Settings' section, click on 'Setup Project Features'.
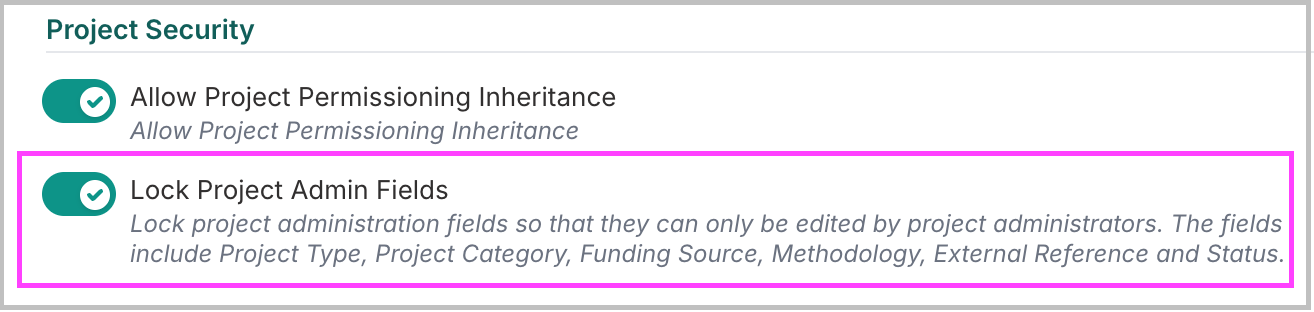
Under the 'Project Security' section there is a feature called 'Lock Project Admin Fields'. This needs to be switched on, appearing green with a tick.
This will stop those assigned to the project as PMs and project editors from being able to edit the 'Project Administration' details of a project, whilst still allowing them to edit other project details.
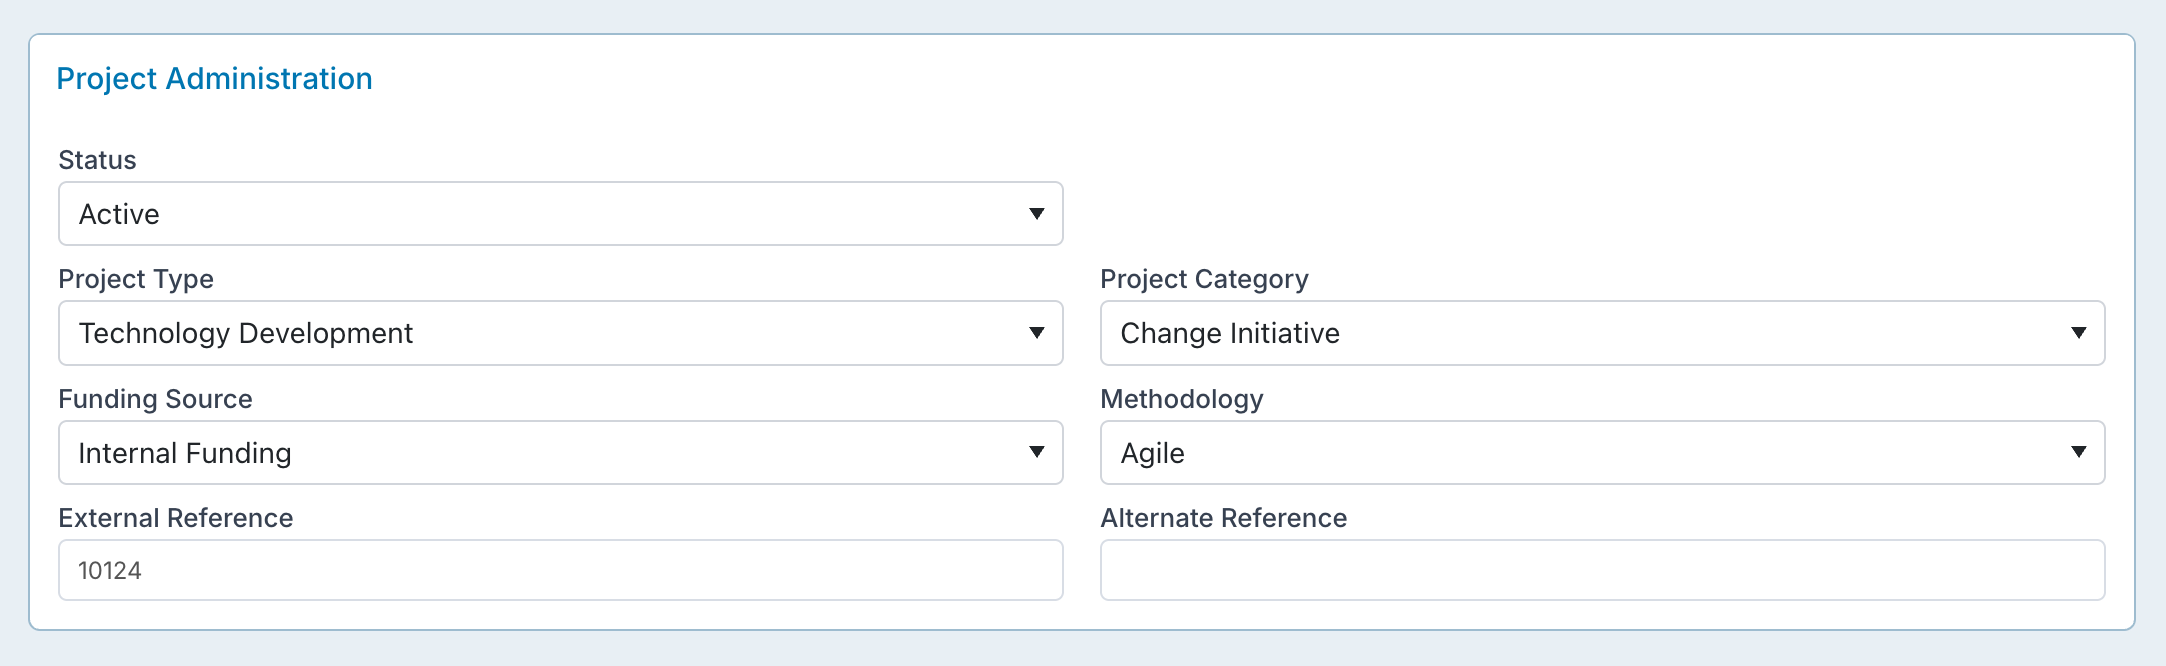
The project administration details include the project status. The below image shows the project details that will be restricted.
Enable Status Report Driven Project Status Changes
In the same page, 'Setup Project Features', go to the section for 'Project Workflow' controls.
You will need to switch on the setting 'Status Report Driven Project Status Change Workflow' so the slider is green and there is a tick.

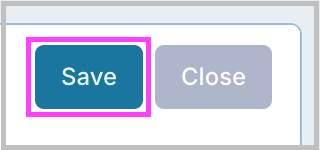
Make sure that you click the 'Save' button at the top of the page when you have made changes.
Link your Status Report RAG(s) to Project Status(es)
Navigate to the 'Administration Console' by clicking on your profile icon in the top right of the window and selecting it from the menu.

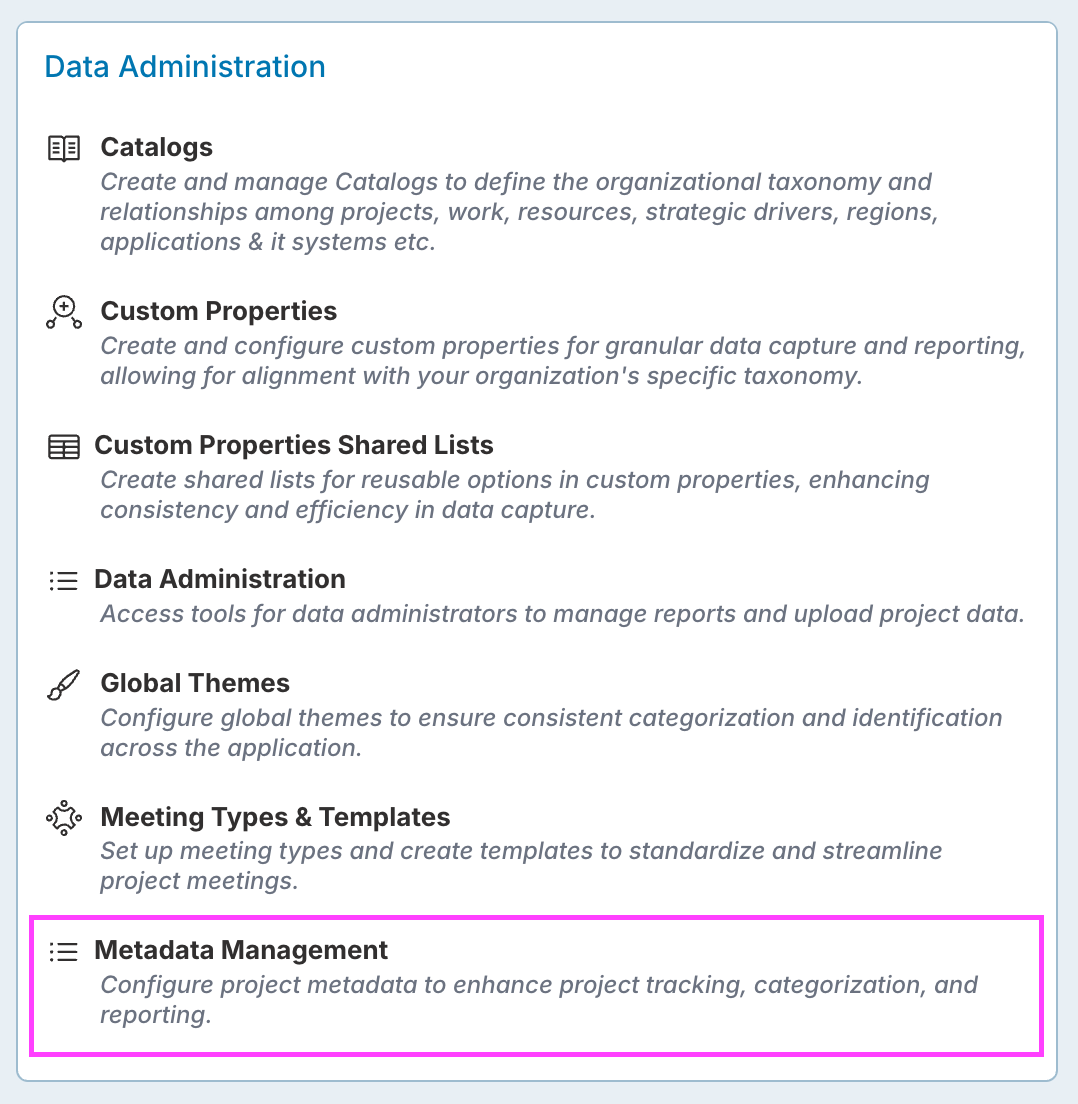
Under the 'Data Administration' section of the Admin Console, click 'Metadata Management'.
In this example, the 'On Hold' status report rag will be linked to a project status 'On Hold' to create an approval process whereby any overall Status Report Rag, will trigger the approval process before making a change to the Project Status.
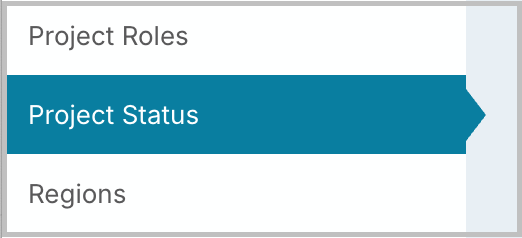
You can view and edit your existing project statuses or add new project statues by clicking on 'Project Status' from the list of tabs on the left hand side.
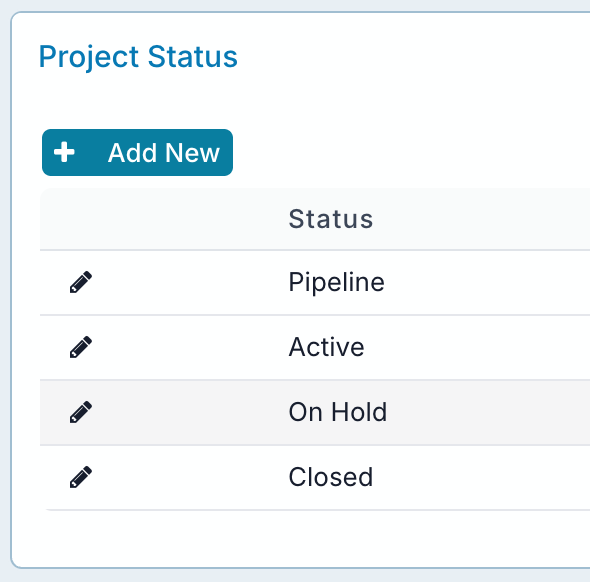
For this example, here is the current list of project statuses, including a status 'On Hold'.
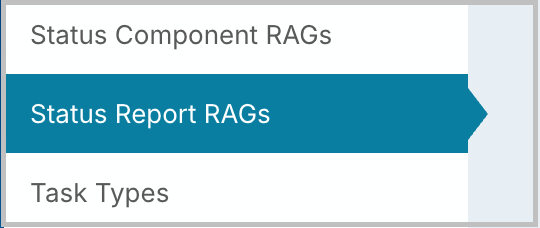
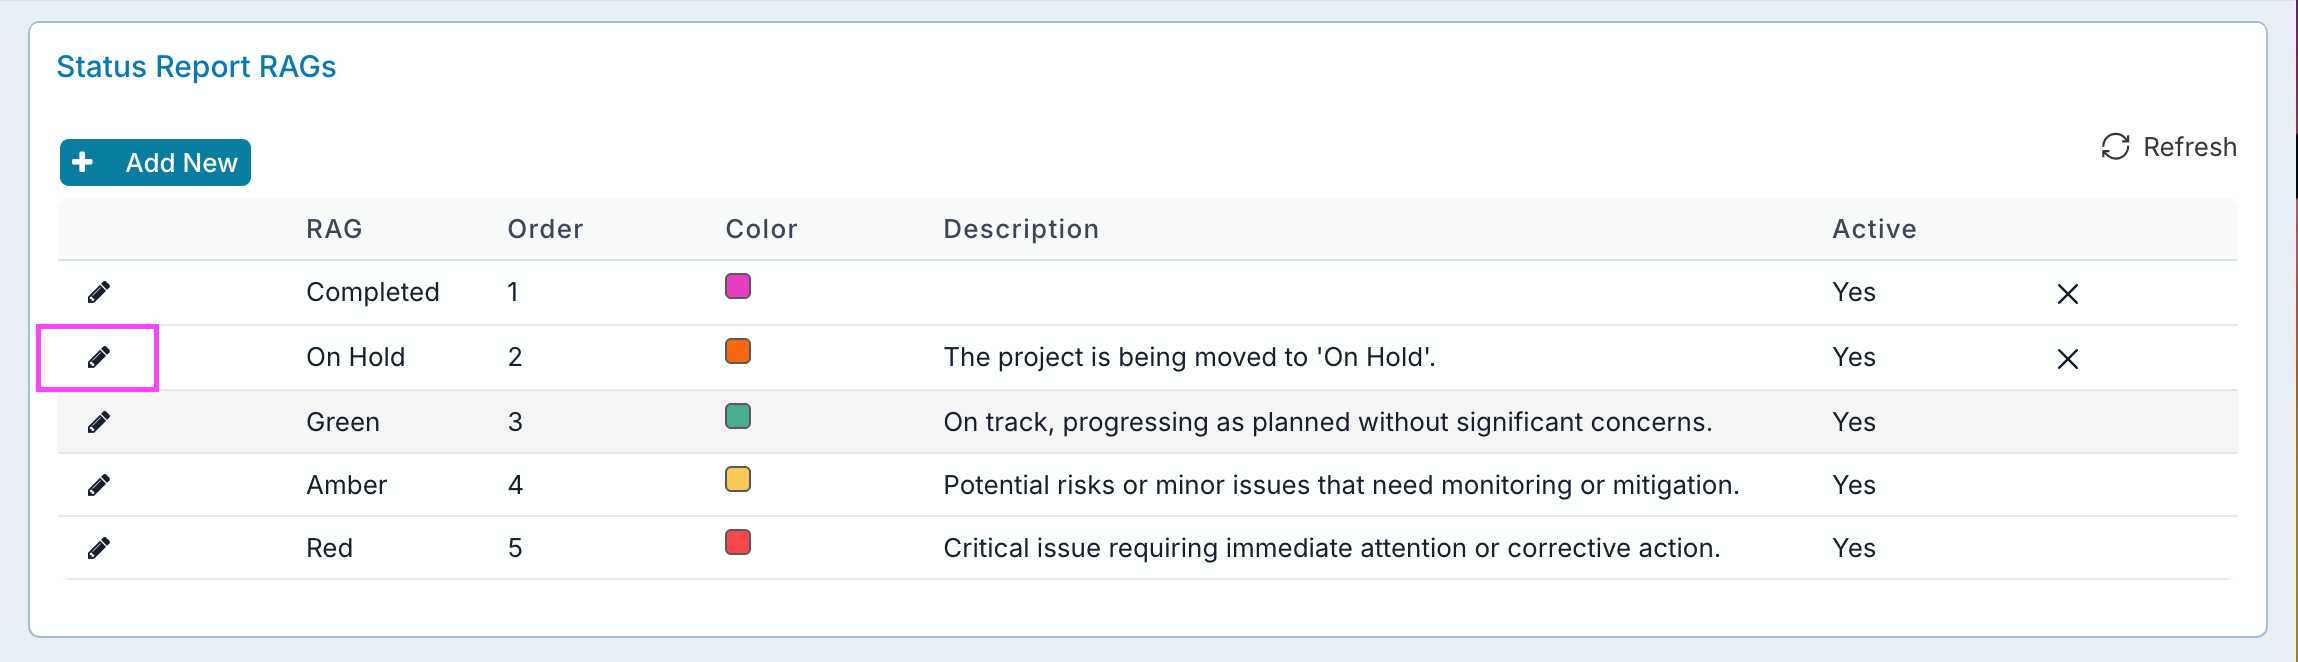
To create the link, from the list of tabs on the left hand side, select 'Status Report RAGs'.
Then select the status that you would like to link to a project status to create an approval process.
Click the pencil icon to edit.
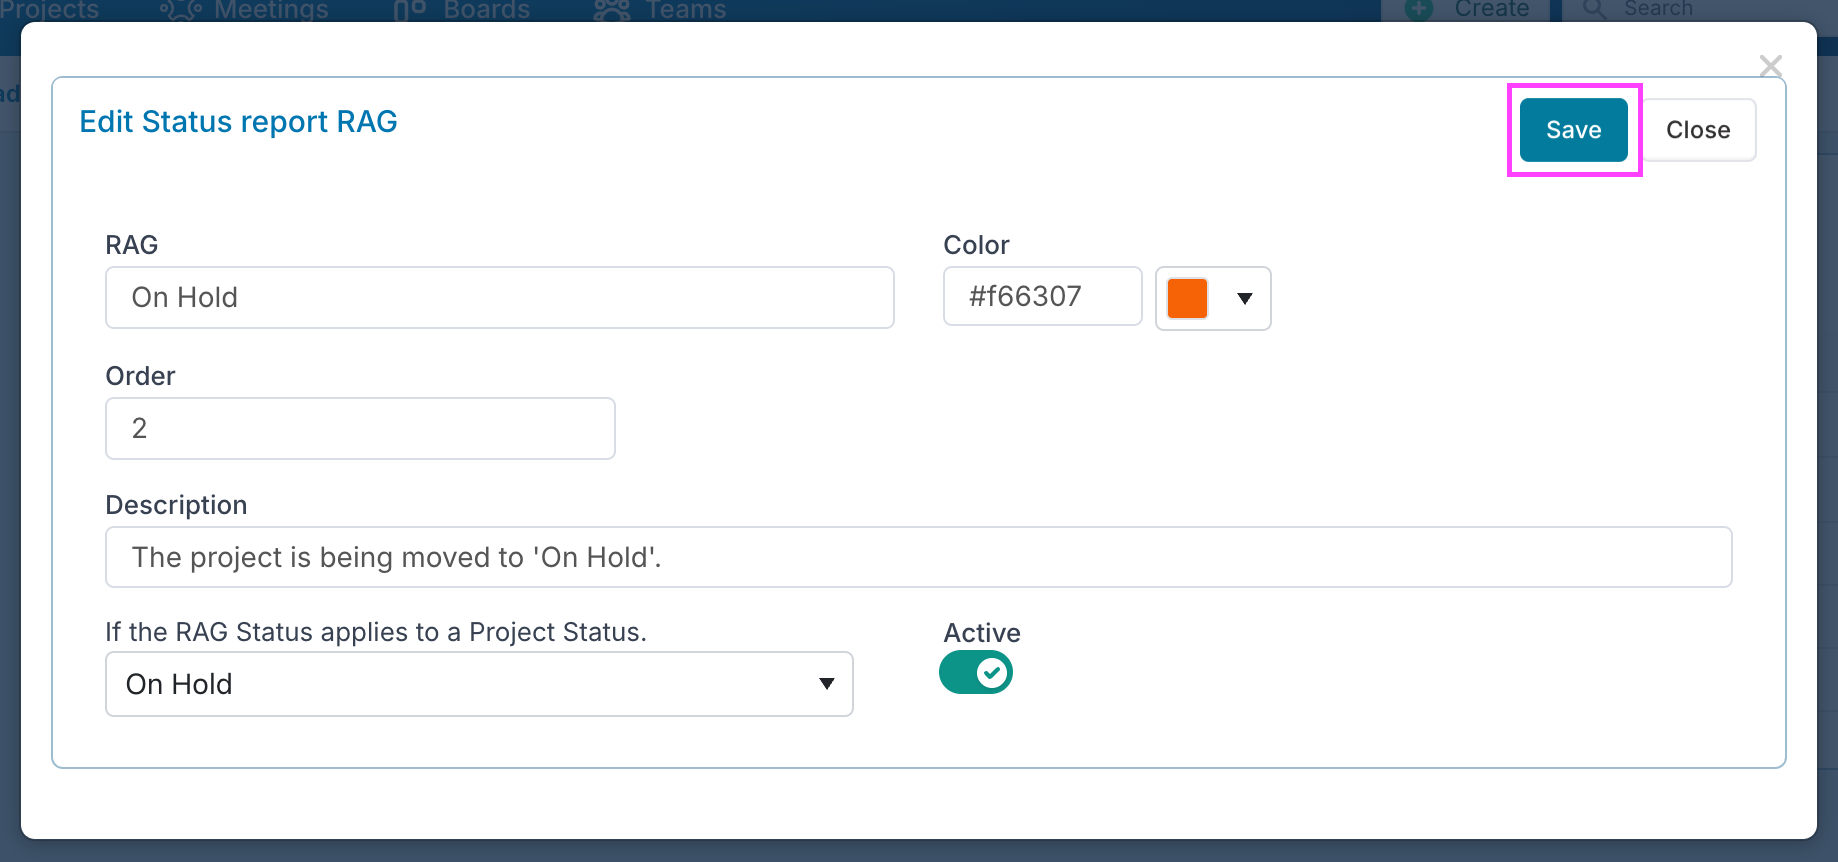
From the dropdown list at the bottom of the dialogue, select the Project Status, that you wish to link this status report RAG too.

Please note, that in this example both the RAG and project status, have the same name, but this does not have to be the case. You should to ensure that the two you link make sense.
You can also link multiple status RAGs to one project status.For example, you might have a status report RAG 'Major Impact' or 'Blocker' that both link to a project status 'Under Review'.
Click the 'Save' button.
You can repeat the process to link other status report RAGs to project statues.
It's unlikely that you would need to link all status report RAGs to a project status.
As an example, you may probably don't want Red, Amber and Green RAGs to update the status report, but not the overall Project Status and this would just remain 'Active' meaning that no request is required.
Add Portfolio Approvers
Navigate to the 'Administration Console' by clicking on your profile icon in the top right of the window and selecting it from the menu.
From the 'Project Settings' section, select 'Portfolios and SubPortfolios'.

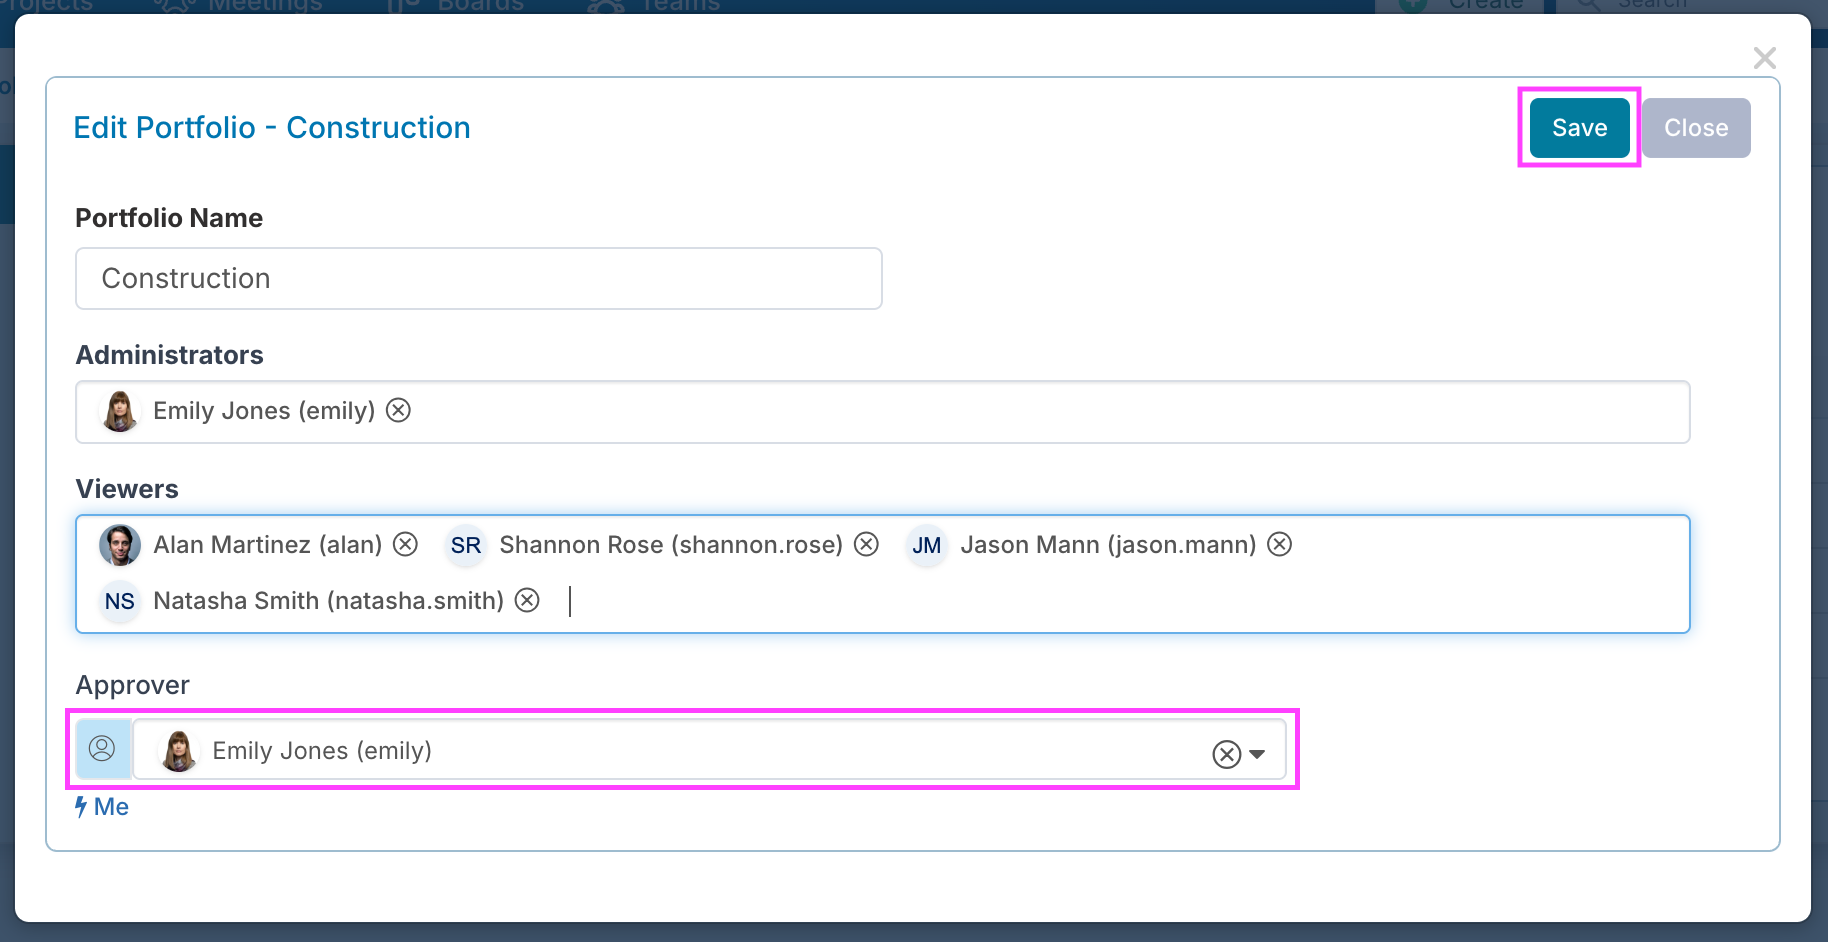
Once in the 'Portfolio and SubPortfolio' management page, add an approver to each of the portfolios.
To do this, click the pencil icon on the portfolio entries which will open a dialogue box.
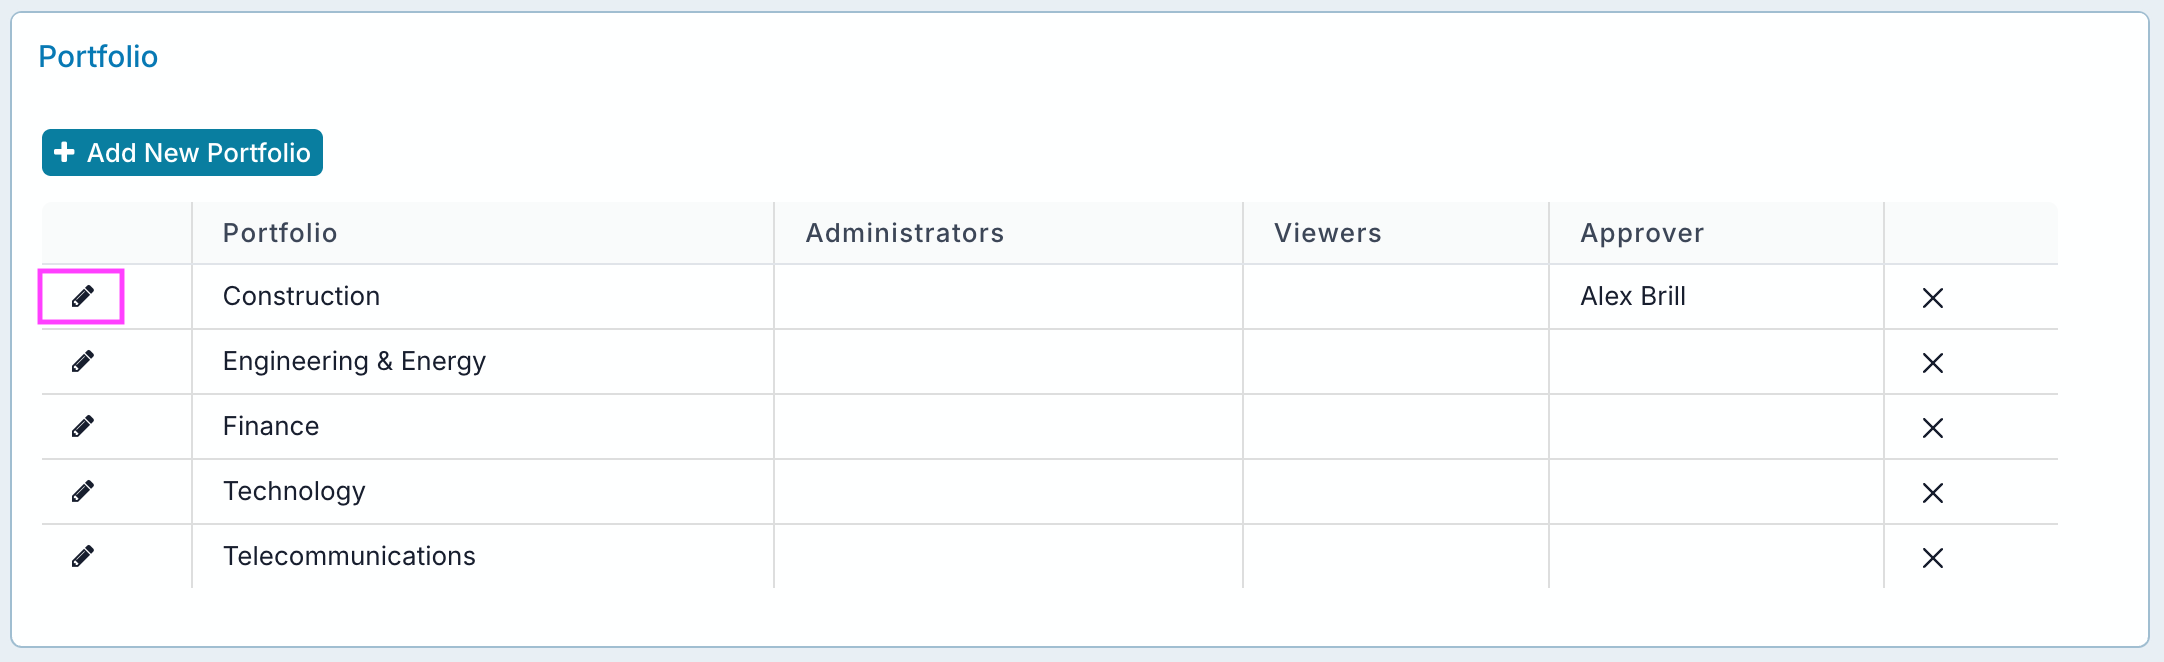
Then assign a portfolio approver and click 'Save'.
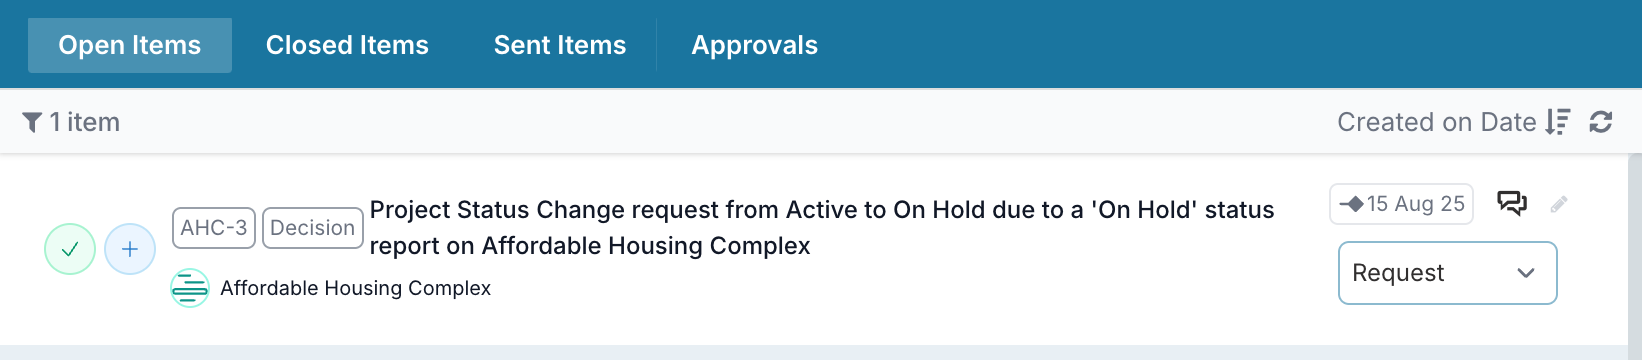
Now when a status change is made to a project within the portfolios, the person assigned as the portfolio approver will receive a decision in 'My Items'.
There will be a green dot above to show them that there is an open item waiting for a response.

When the project approver clicks into 'My Items', they will see the decision in the list and can look at the details and approve, conditionally approve or decline, giving a reason.
If approved, the project status linked to the status report rag will automatically update.
