What is Scenario Planning?
Scenario Planning is a forecast modelling workspace built into Fluid that lets you explore different planning assumptions across your projects and portfolios, without touching your live data.
When you create a scenario, Fluid generates an isolated copy of your financial and resource data. You can adjust labour forecasts, update non-labour costs, and re-profile resource assignments freely. None of those changes appear in live reports until you choose to commit them.
This matters because Fluid is a live reporting environment. Executives and senior stakeholders rely on portfolio data being accurate and up to date. Scenario Planning gives managers a safe space to work through exploratory re-forecasts without exposing incomplete or in-progress changes to leadership.
Create a New Scenario
Scenarios can be created at the Project level, Portfolio level or for a select list of project that are filtered in your dashboard watchlist.
Create a Scenario for a Single Project
Navigate top the project workspace
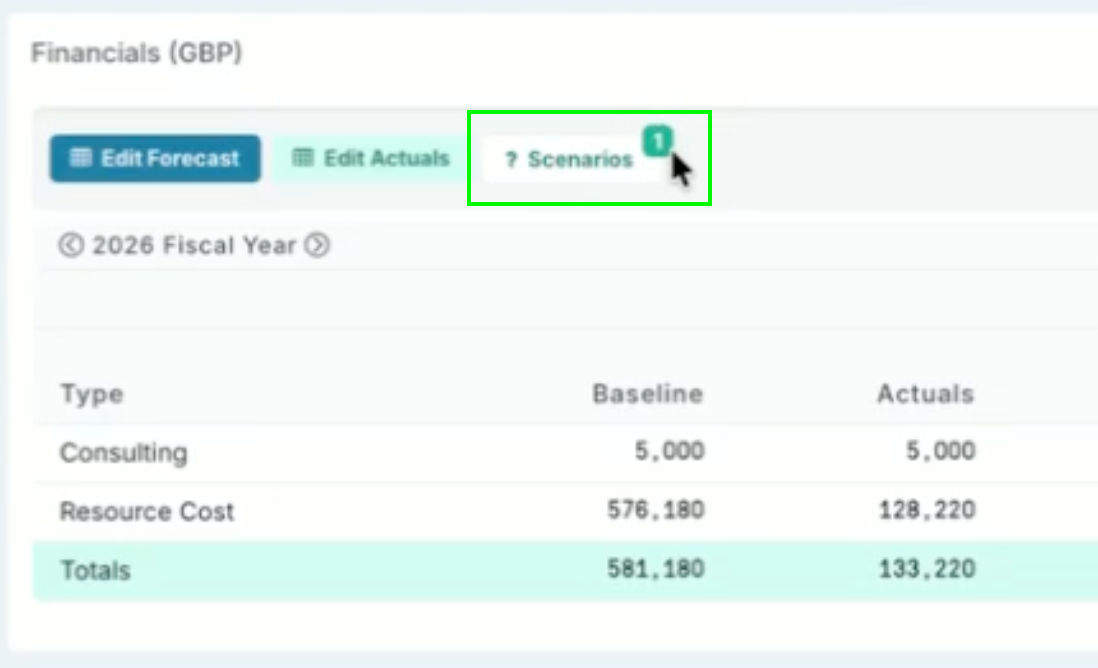
Jump or scroll down to the financials section of the workspace.
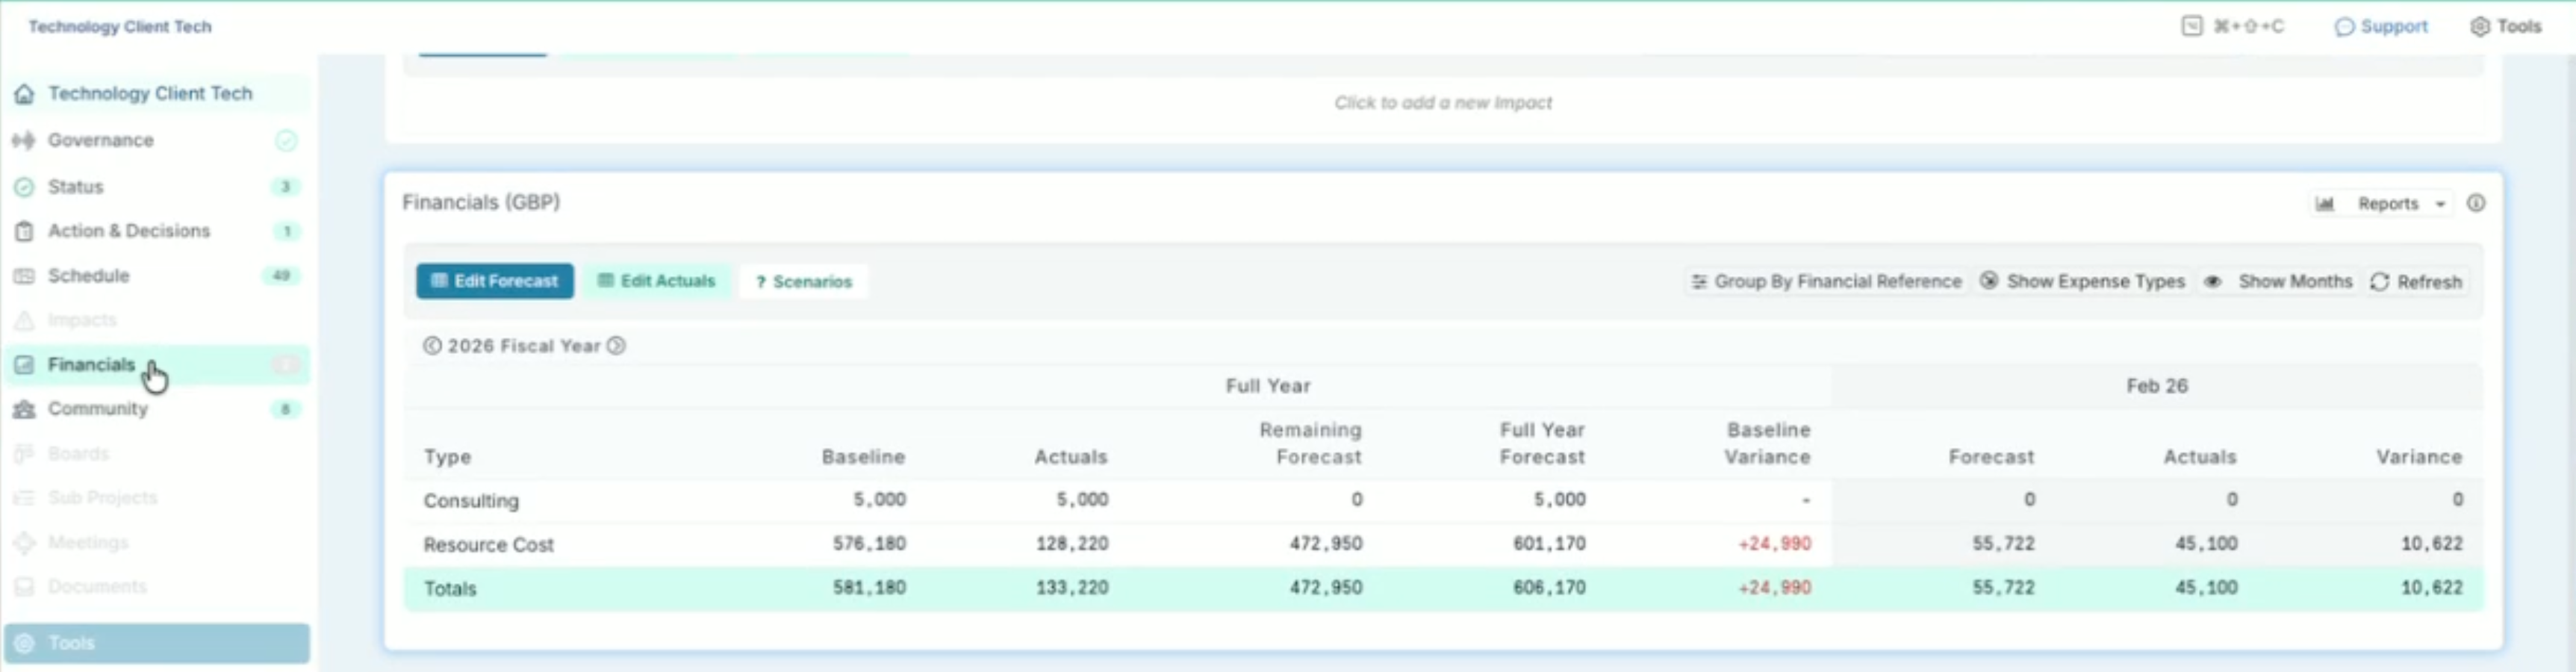
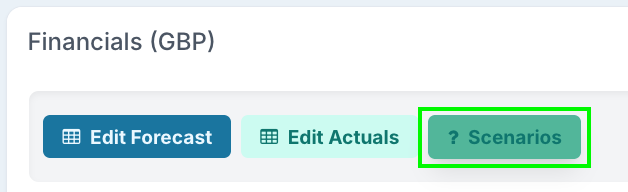
Click the Scenarios button
Click the Create A New Scenario button; if other scenarios have been created previously for this project, they will also be listed here.

Create a Scenario for an Entire Portfolio
Navigate to the Projects dashboard page.
Load a Financial dashboard layout (Switch Report Layout > Financial).
Select the Portfolio that you want to create the scenario for from the Portfolio menu.
Ensure that you apply or remove other filters as required. E.g. if you only want to create a scenario for active projects, the Active filter should be on.
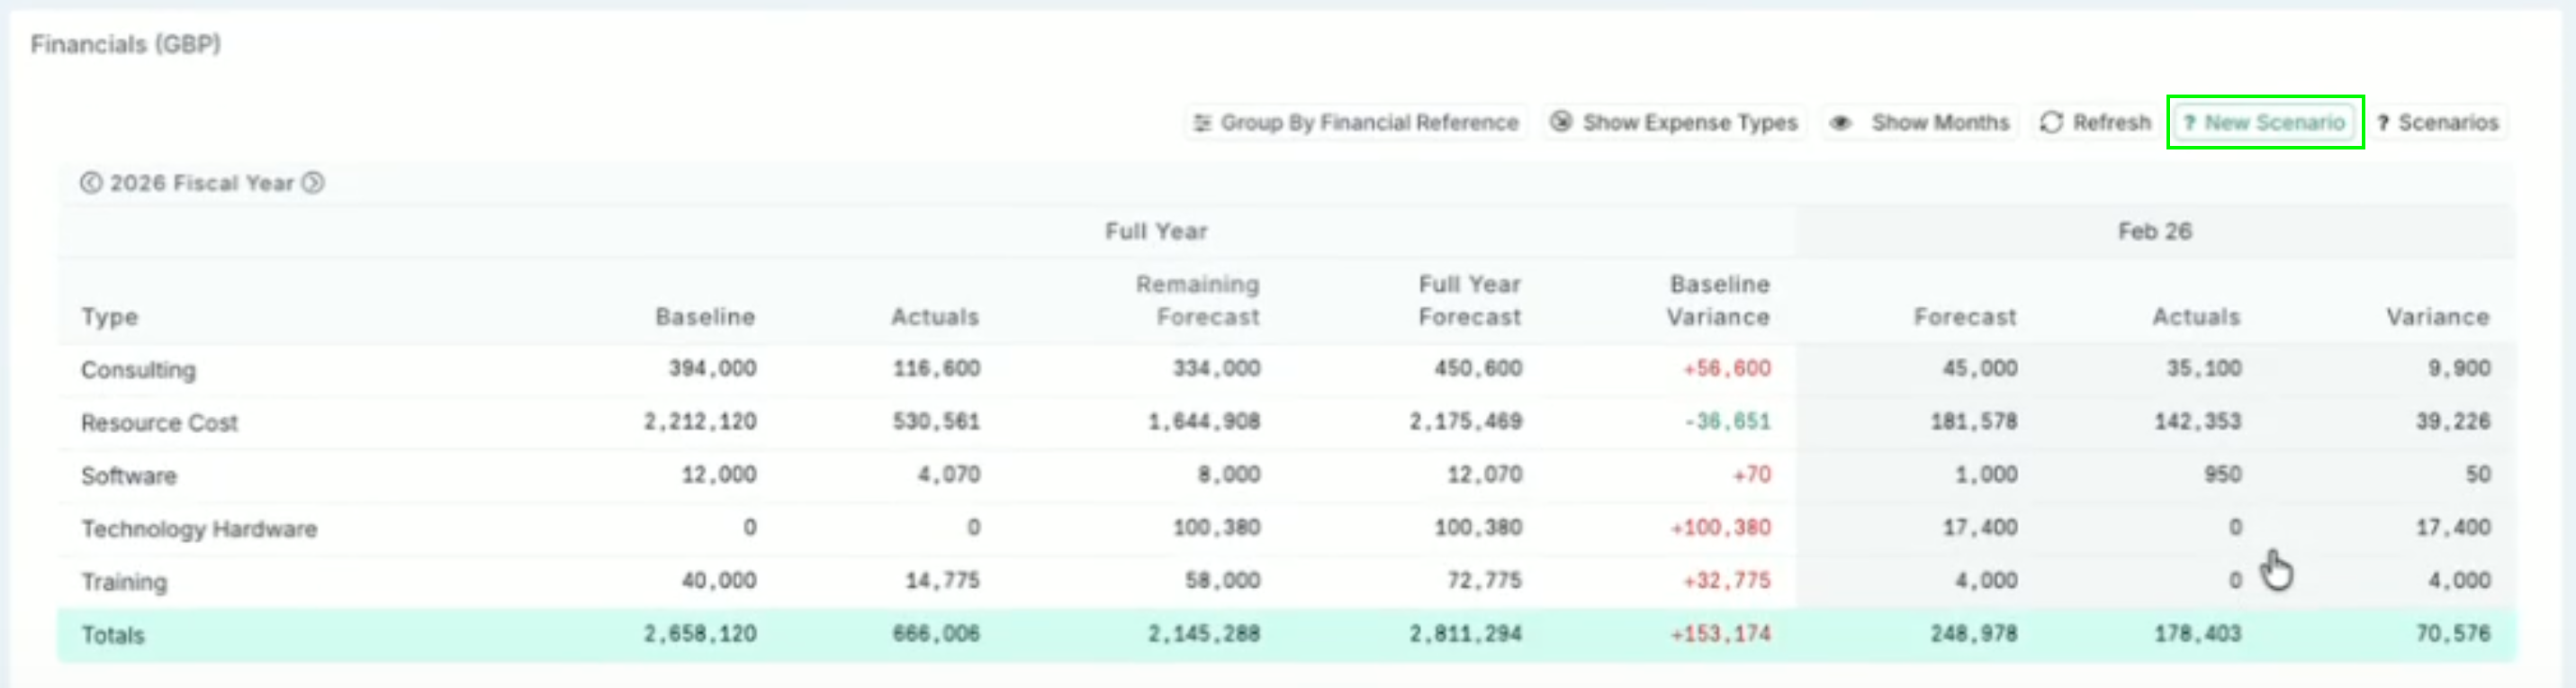
Scroll down to the to the Financials table.
Click the New Scenario button.
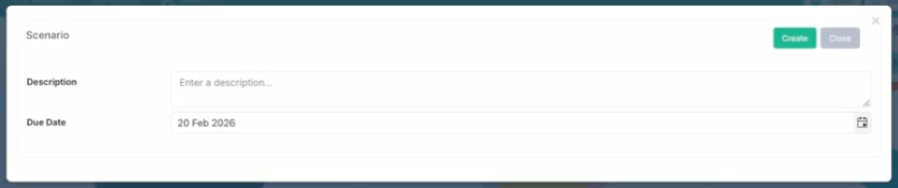
Add a scenario description and a due date.
Build Out the Scenario
Once you have created the scenario, Fluid will create an isolated workspace, where you can adjust your labour and non-labour forecasts, without changing the live financials.
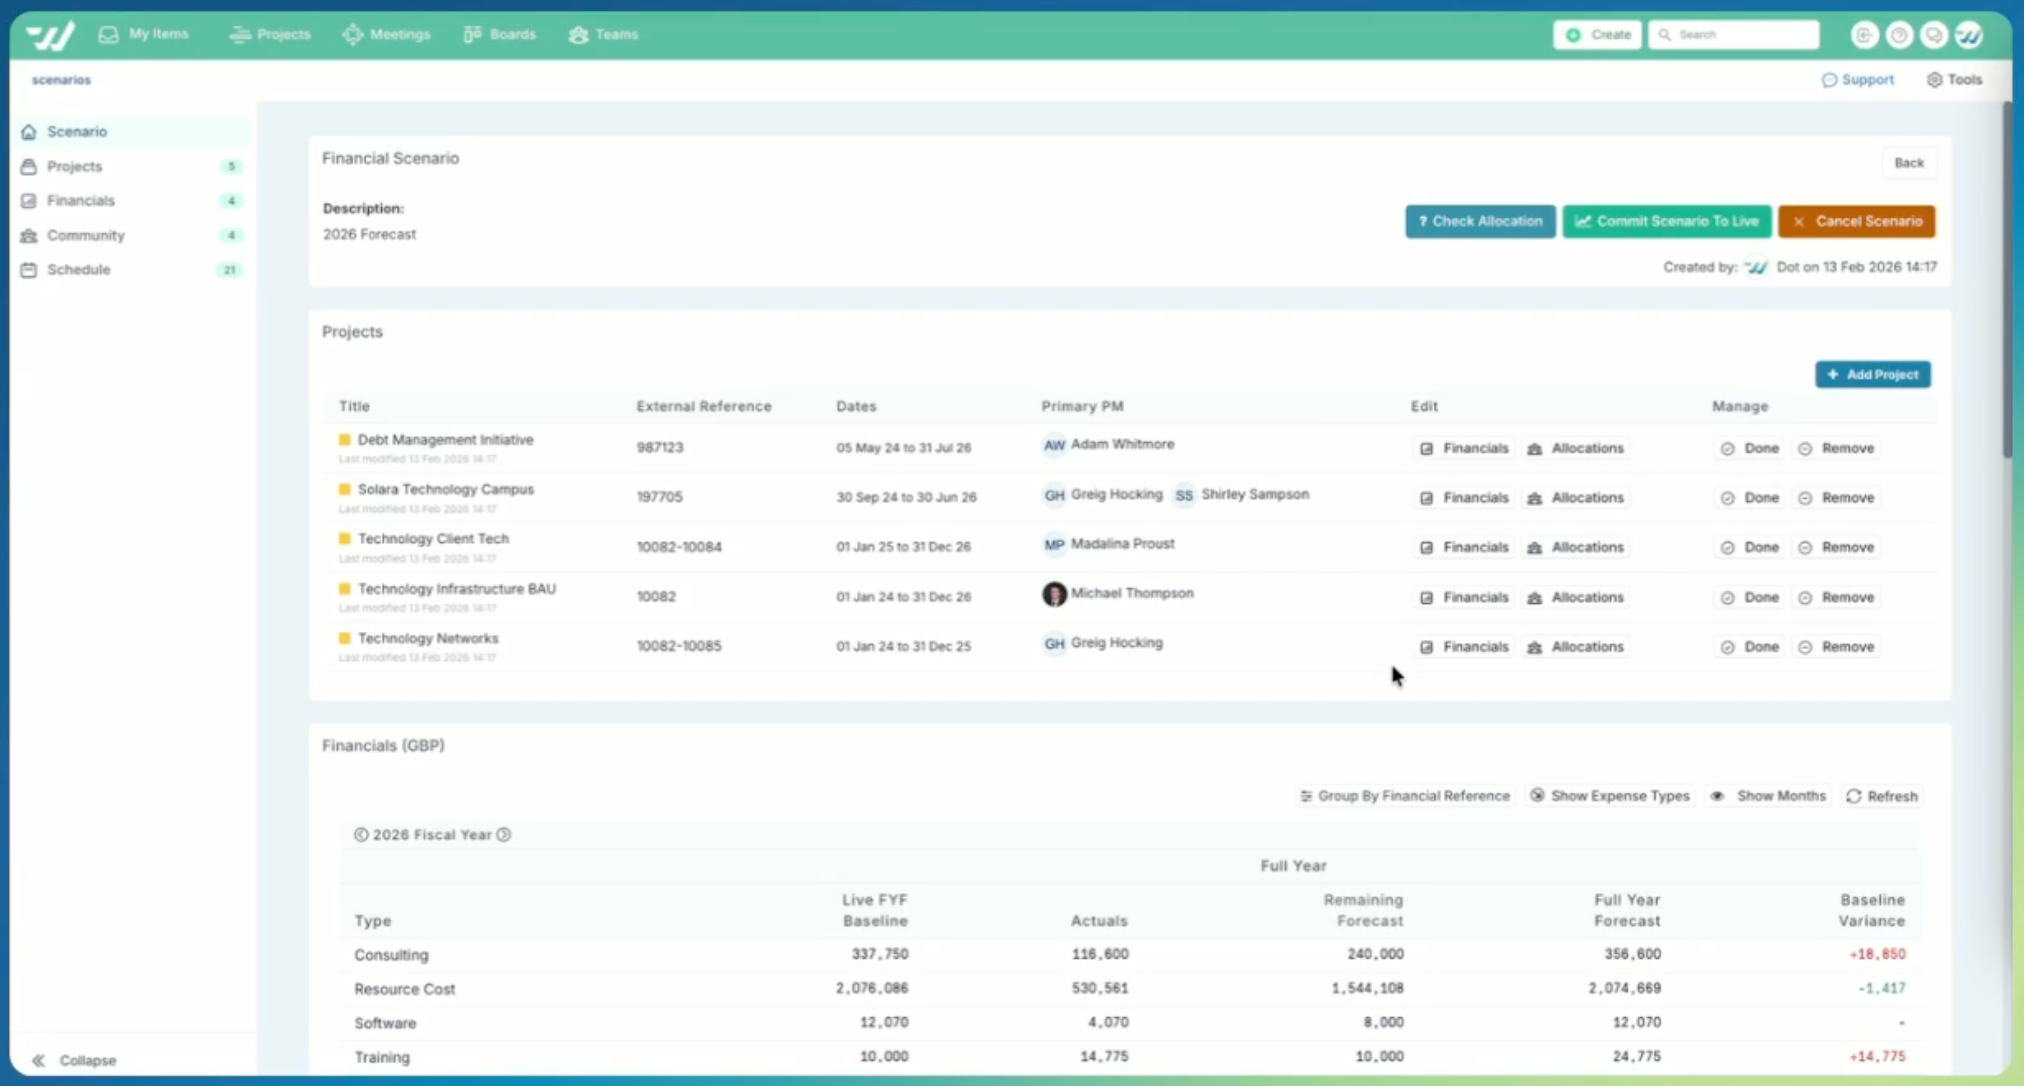
In this scenario view you will see:
A list of projects that are included in the scenario
Aggregated financial forecasts
Aggregated resource allocations
Combined schedule view, to help you forecast accurately against each project timeline
You can now modify monthly labour and non-labour forecast values to represent all the outcomes you want to model.
Note: Only open months can have forecast values edited.
Updating Non-Labour / Non-Resource Forecasts
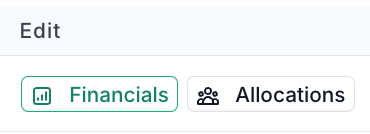
Click on the Financials button on a project in the Projects section, that you want to update.
Here you can add new expense types, by clicking the Add New Line button or update existing forecasts in the cells.
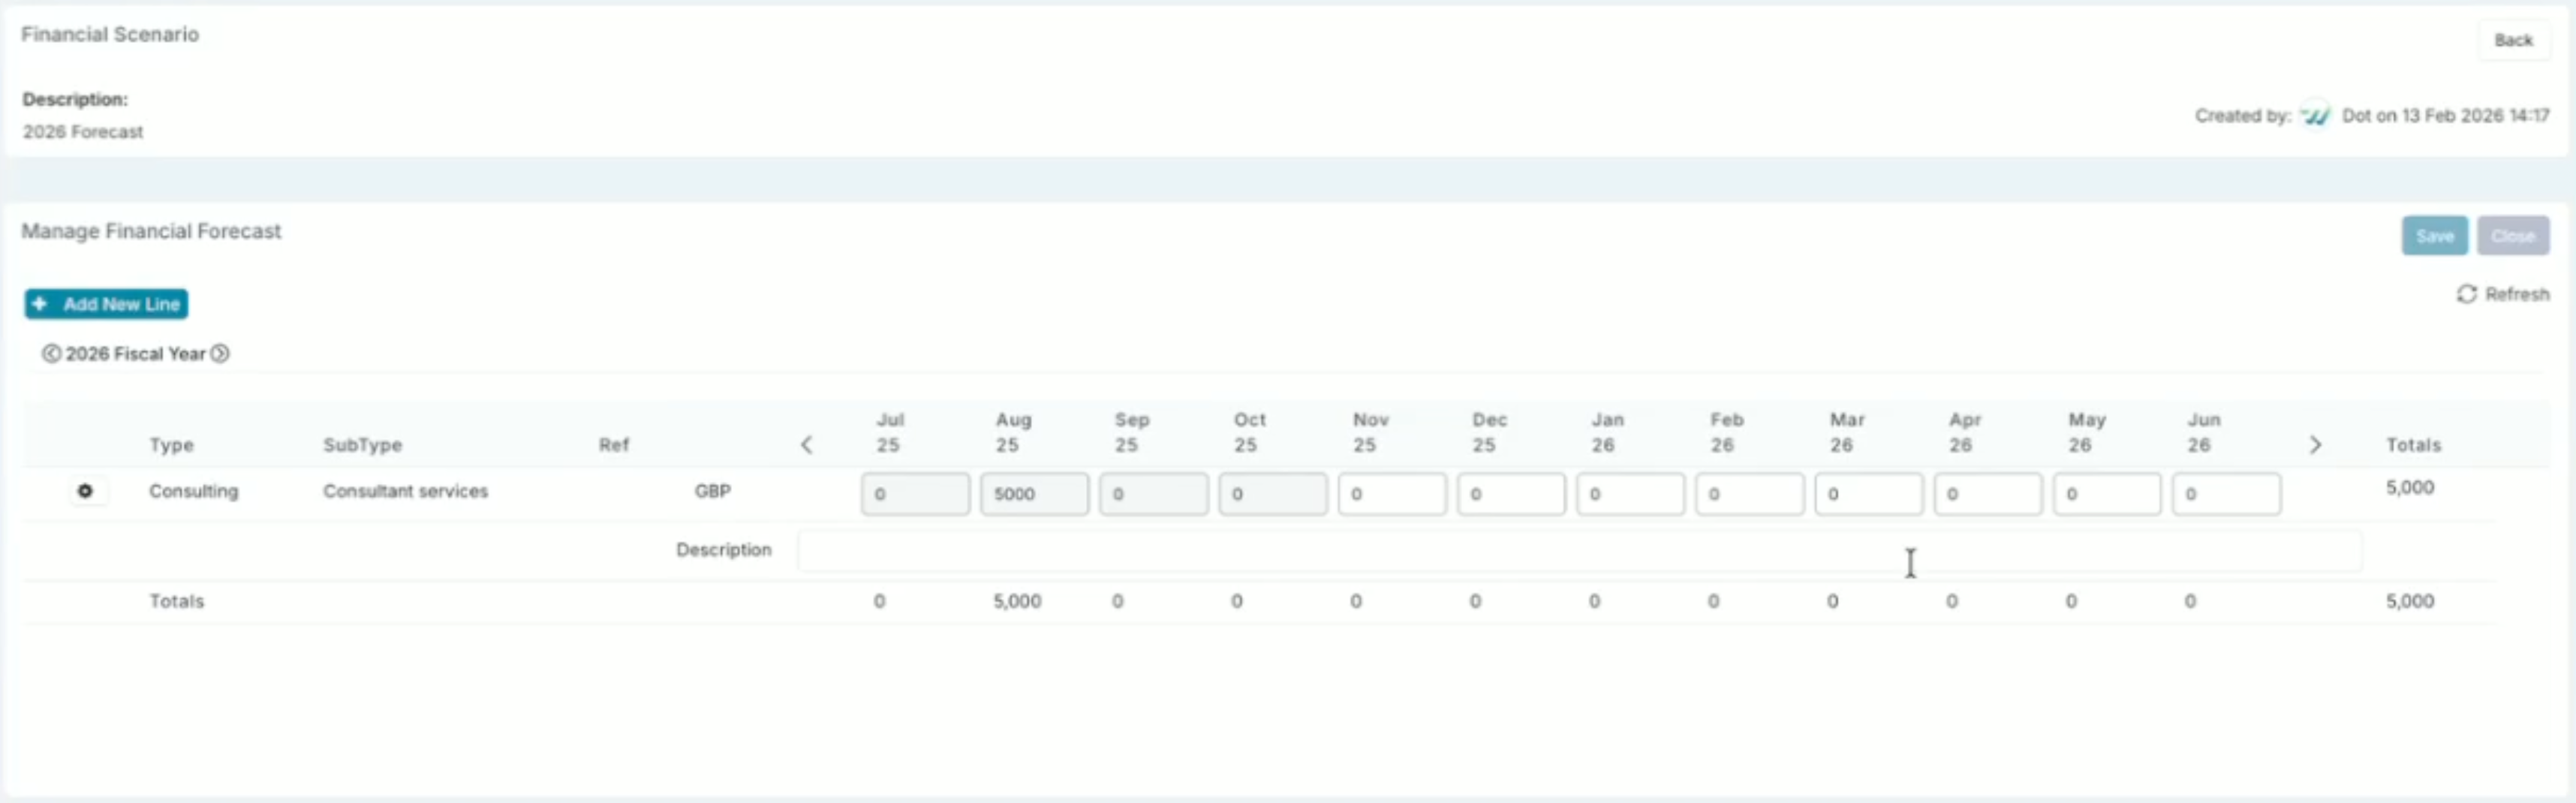
When you are done, click Save and Close the view.
Back in the aggregated view, you will see the new lines and/or updated forecast figures reflected immediately in both monthly figures and the aggregated forecast.
Updating Resource Forecasts
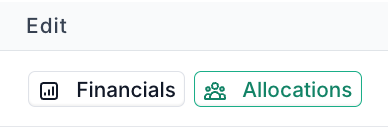
Click on the Allocations button on a project in the Projects section, that you want to update.
You can click the Add Resource button to add a new resource or resource placeholder or amend the forecast for the existing resources.
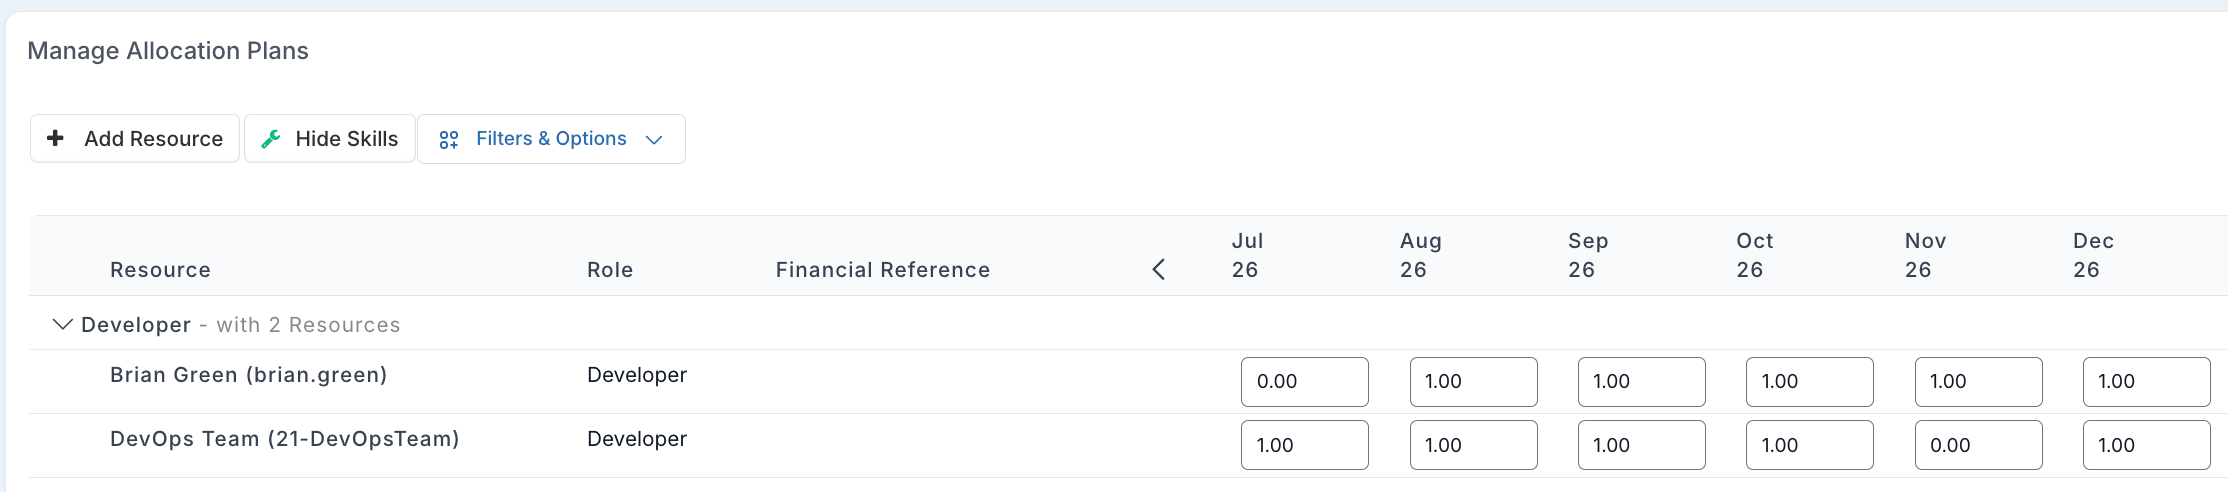
In this view, you can also use the Check Allocation button to check for any over allocated resources based on this scenario as you are working.
Once you have made changes to the scenario, click Check Allocation & Save and the Close the view.
Note: If you have over allocated resources in this scenario, and your site configuration allows you to, you can use the Force Save button to save the scenario with the over allocated resources.
Alternatively, you will need to go back an make changes to ensure that the scenario would not over allocate resources beyond their capacity.
Back in the aggregated view, you will see the new lines and/or updated forecast figures reflected immediately in the Community and Financials sections of the workspace, including both monthly figures and the aggregated forecast.
Mark Changes as Complete
When you have completed the changes to the forecasts for both labour (resource) and non-labour (non-resource), click the 'Done' button to indicate that that project has been done; this will remove the Financials and Allocations edit buttons.
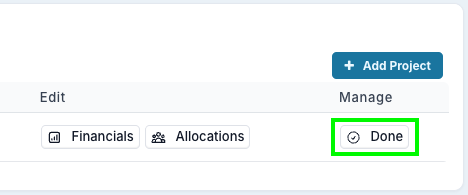
You will be asked if you want to mark the scenario as complete.

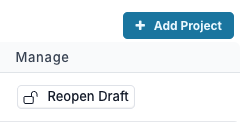
You can re-open the draft if needed to go back and make changes.
Scenario Isolation
What's important to notice is that now if we navigate back to that project's live view and navigate to the financial section, you'll see that these changes are not visible;
they have not been committed to the live plan.
Projects that are included in an active scenario display a clear indicator to let you know they are part of a scenario. You can continue working on the scenario directly from within the project view itself, without needing to return to the portfolio-level scenario workspace each time.
Commit a Scenario to Live
Once you are satisfied that the scenario reflects the changes you want to make, you can commit the scenario to live. Only at that point do the updates flow through to the live plan and become visible across executive reporting.
This workflow, model first, commit when ready, ensures accuracy and consistency across your portfolio reporting.
To do this:
Click Commit Scenario To Live button

A pop-up will as if you are sure you want to approve the scenario; click Save. When approved, all live forecasts for projects within the scenario will be replaced with the scenario.
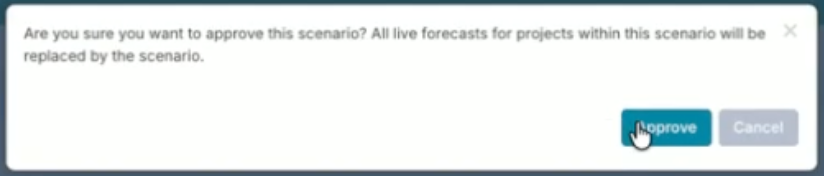
The scenario will be committed; this will reflect in the resource plans and financials of all projects that were part of the scenario and reports.
Scenario Detailed Report
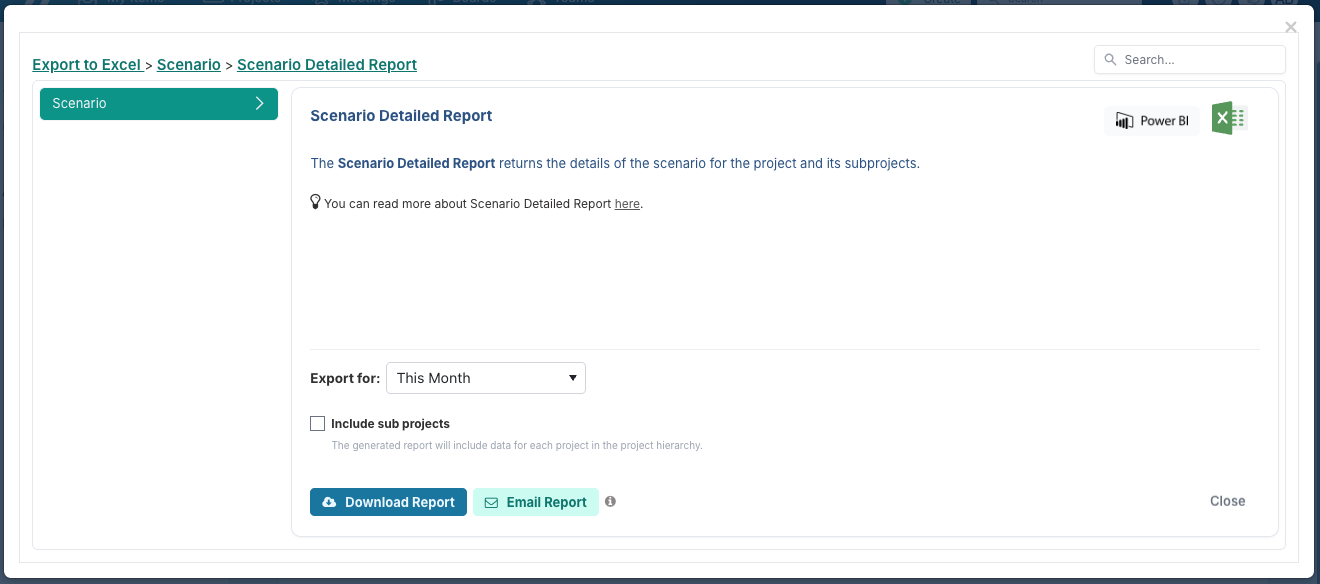
You can export a detailed report of the scenario, which includes the allocations and financials, as an Excel spreadsheet report.
From the scenario workspace, click Tools
Select Export to Excel from the menu
Select the date range that you would like to download the data for - you can select custom dates if required
If you would like to include sub projects, you can use the check box to do this
Click Download Report for an instant download or Email Report to get a copy emailed to you.
Key Things to Remember
Scenarios are available at both project and portfolio level.
Changes in a scenario are fully isolated from live data until committed.
Only open months can have forecast values edited.
Once you commit a scenario, changes become immediately visible in live reporting.